Skip to main content
Search
Search This Blog
Lifestyle blog about retirement & learning to be content.
Home
About
My DIY
Our Remodel Q & A
Our Mobile Home Before & After
More…
Posts
Showing posts from August, 2011
Show all
PRINTFRIENDLY
Posted by
Geneva
August 30, 2011
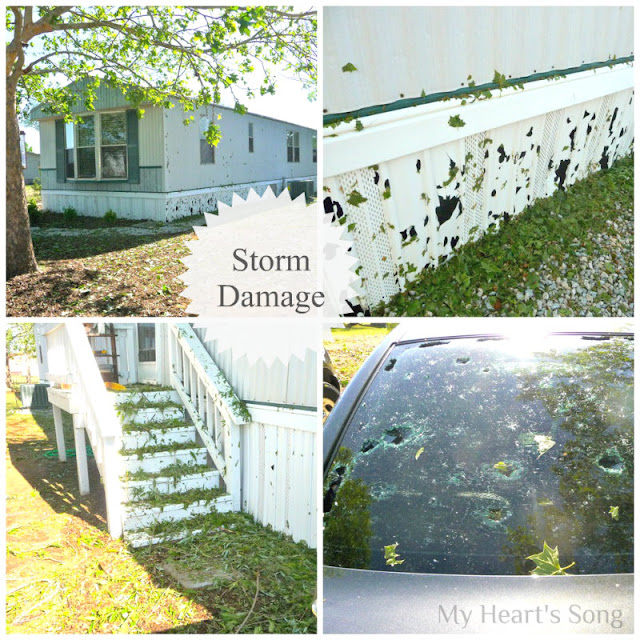
Rain?
Posted by
Geneva
August 23, 2011
Rocky & Friend - The Neighborhood Squirrels
Posted by
Geneva
August 22, 2011
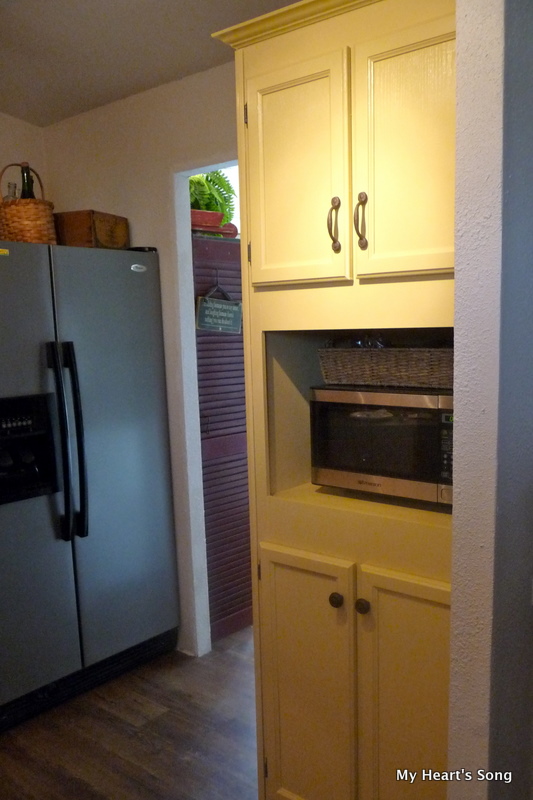
Kitchen Cabinets...Makeover Begins
Posted by
Geneva
August 21, 2011
Bruschetta with Tomato and Basil
Posted by
Geneva
August 20, 2011
The Garden
Posted by
Geneva
August 18, 2011
Dining Room - Makeover
Posted by
Geneva
August 17, 2011
Dog Days of Summer
Posted by
Geneva
August 14, 2011
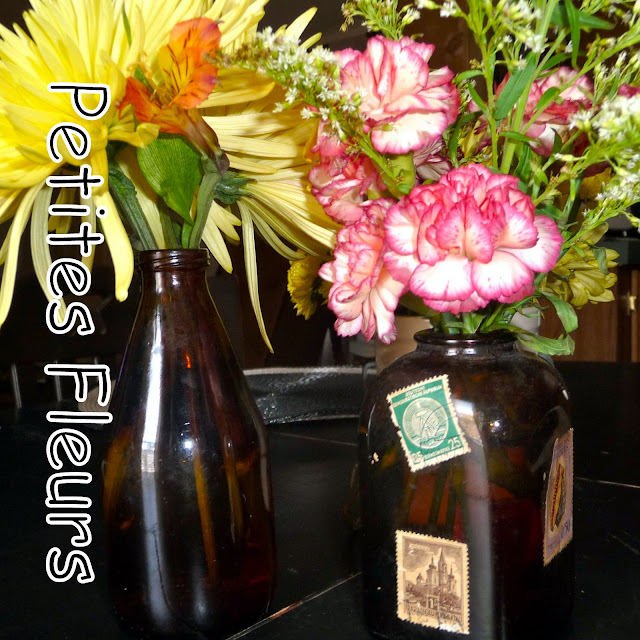
Little Flowers
Posted by
Geneva
August 11, 2011
Laundry Room - (Makeover)
Posted by
Geneva
August 10, 2011
Staying Cool...
Posted by
Geneva
August 09, 2011
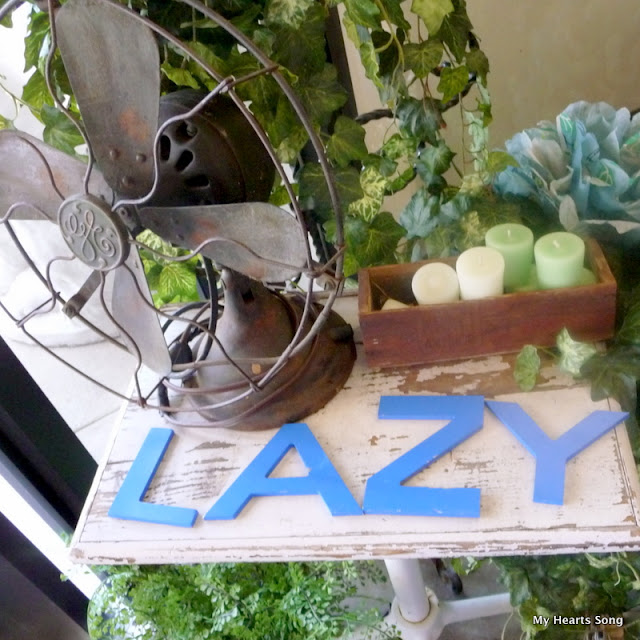
Overwhelmed or Lazy?
Posted by
Geneva
August 08, 2011
Master Bath - (Makeover)
Posted by
Geneva
August 08, 2011
"Whisper Cottage" Gets A Roof Over
Newer Posts
Older Posts
Home